Spending a lot of time with computers taught me (painfully) a great deal about ergonomics. A new job requires me to work on the road, and while my stationary setup makes all doctors happy, my mobile one is a pain. So, mobile computing habits needed adjustment. Buying a transportable laptop stand was easy. Commercially available, mobile keyboards exist; they are lightweight, small, foldable, but still not made for hours-long hacking. Not afraid of wielding a soldering iron, I knew a custom keyboard was the only solution for ergonomic typing on the road.
One Million Keyboards
Custom hardware is like an open-world game: If there are no restrictions on degrees of freedom, feeling overwhelmed settles in fast, at least for me. After a cursory glance, there seemed to be one million possible solutions out there. Luckily, my SO has a consistently growing collection of custom mechanical keyboards and happily took on the role of the tour guide in this new-to-me world. They quickly pointed out relevant models:
- Corne
- Corne-ish Zen
- Kyria (rev2)
- Lily58
- Sofle Choc
Just this list alone has saved me about two full weeks of research and on my own I would have given up half-way. In the end I settled for the Kyria:
- Split keyboards for left/right hands (must-have, feature of all proposed models)
- Fits my large hands
- Very, very good documentation1
- Bongo Cat WPM indicator
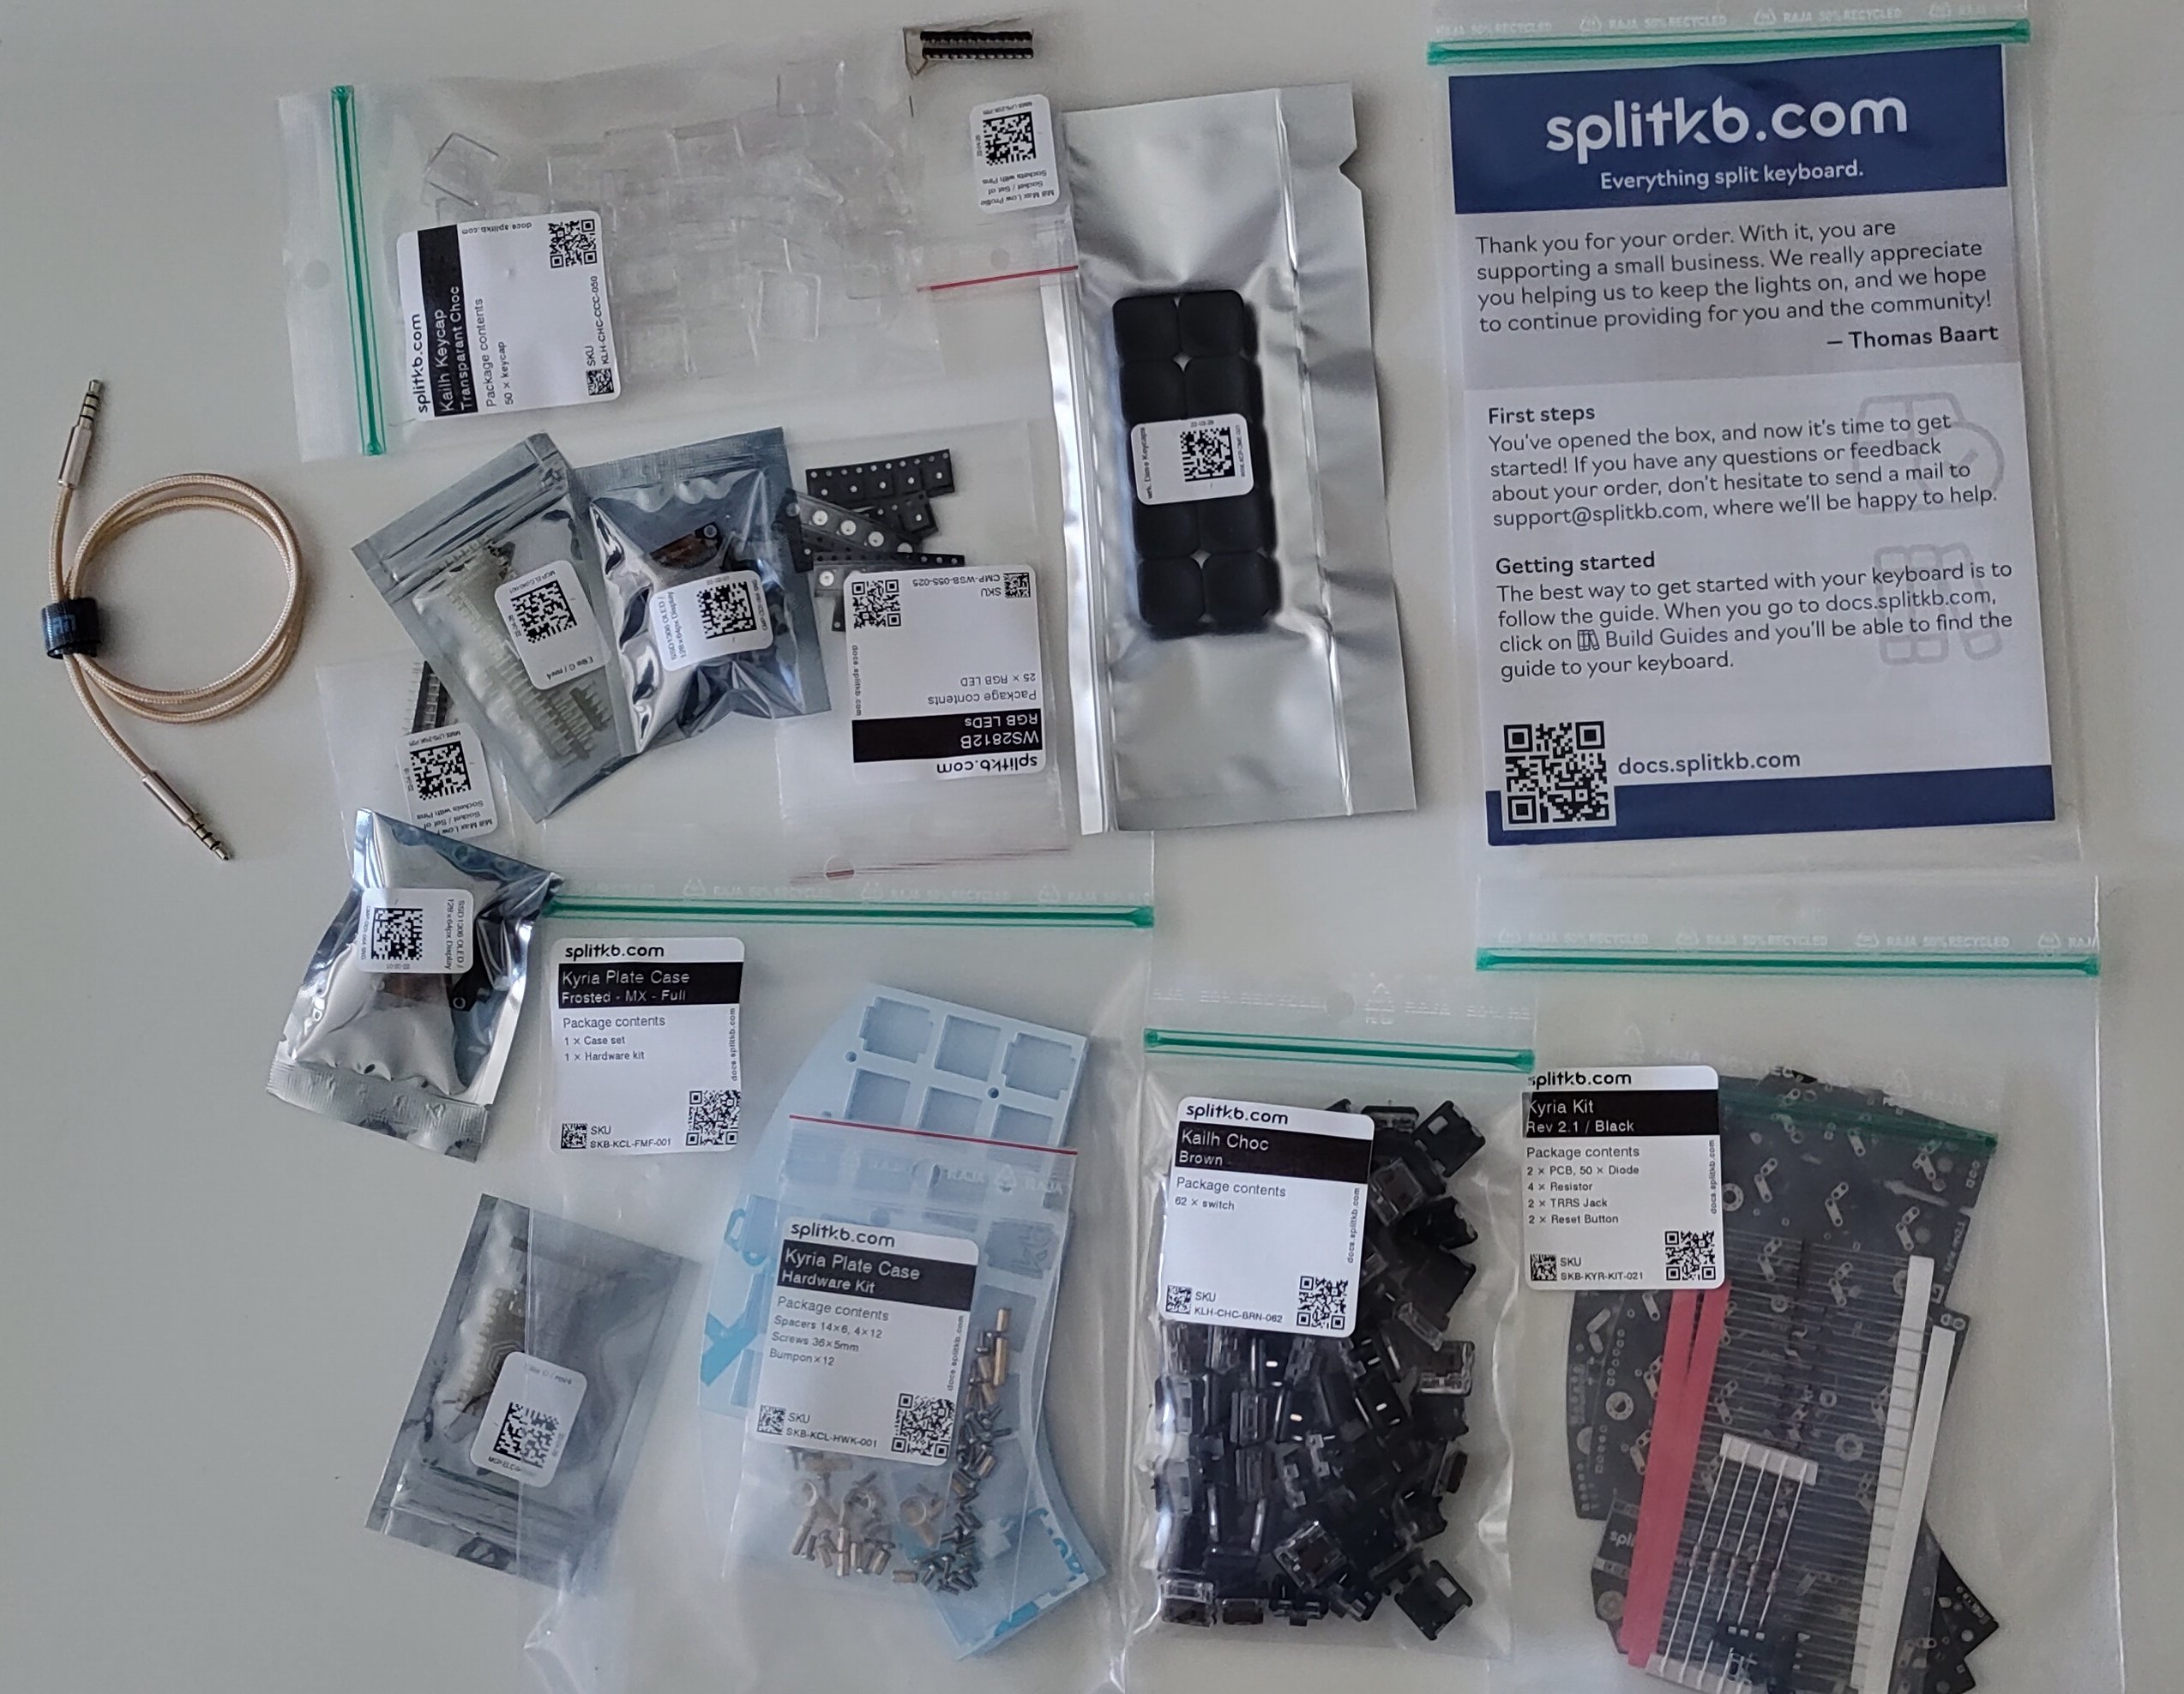
I blame Bongo Cat for ordering the Kyria (with OLED, LEDs, brown Kailh low profile choc switches) from splitkb.com, and the parcel came faster than you can pronounce the url.
Getting the Kyria up and running
I learned to solder thanks to Mitch Altman many years ago, so assembly was quite smooth. The only fiddly part were the RGB lights, but even those turned out perfectly.
The parcel had all neatly packaged components:
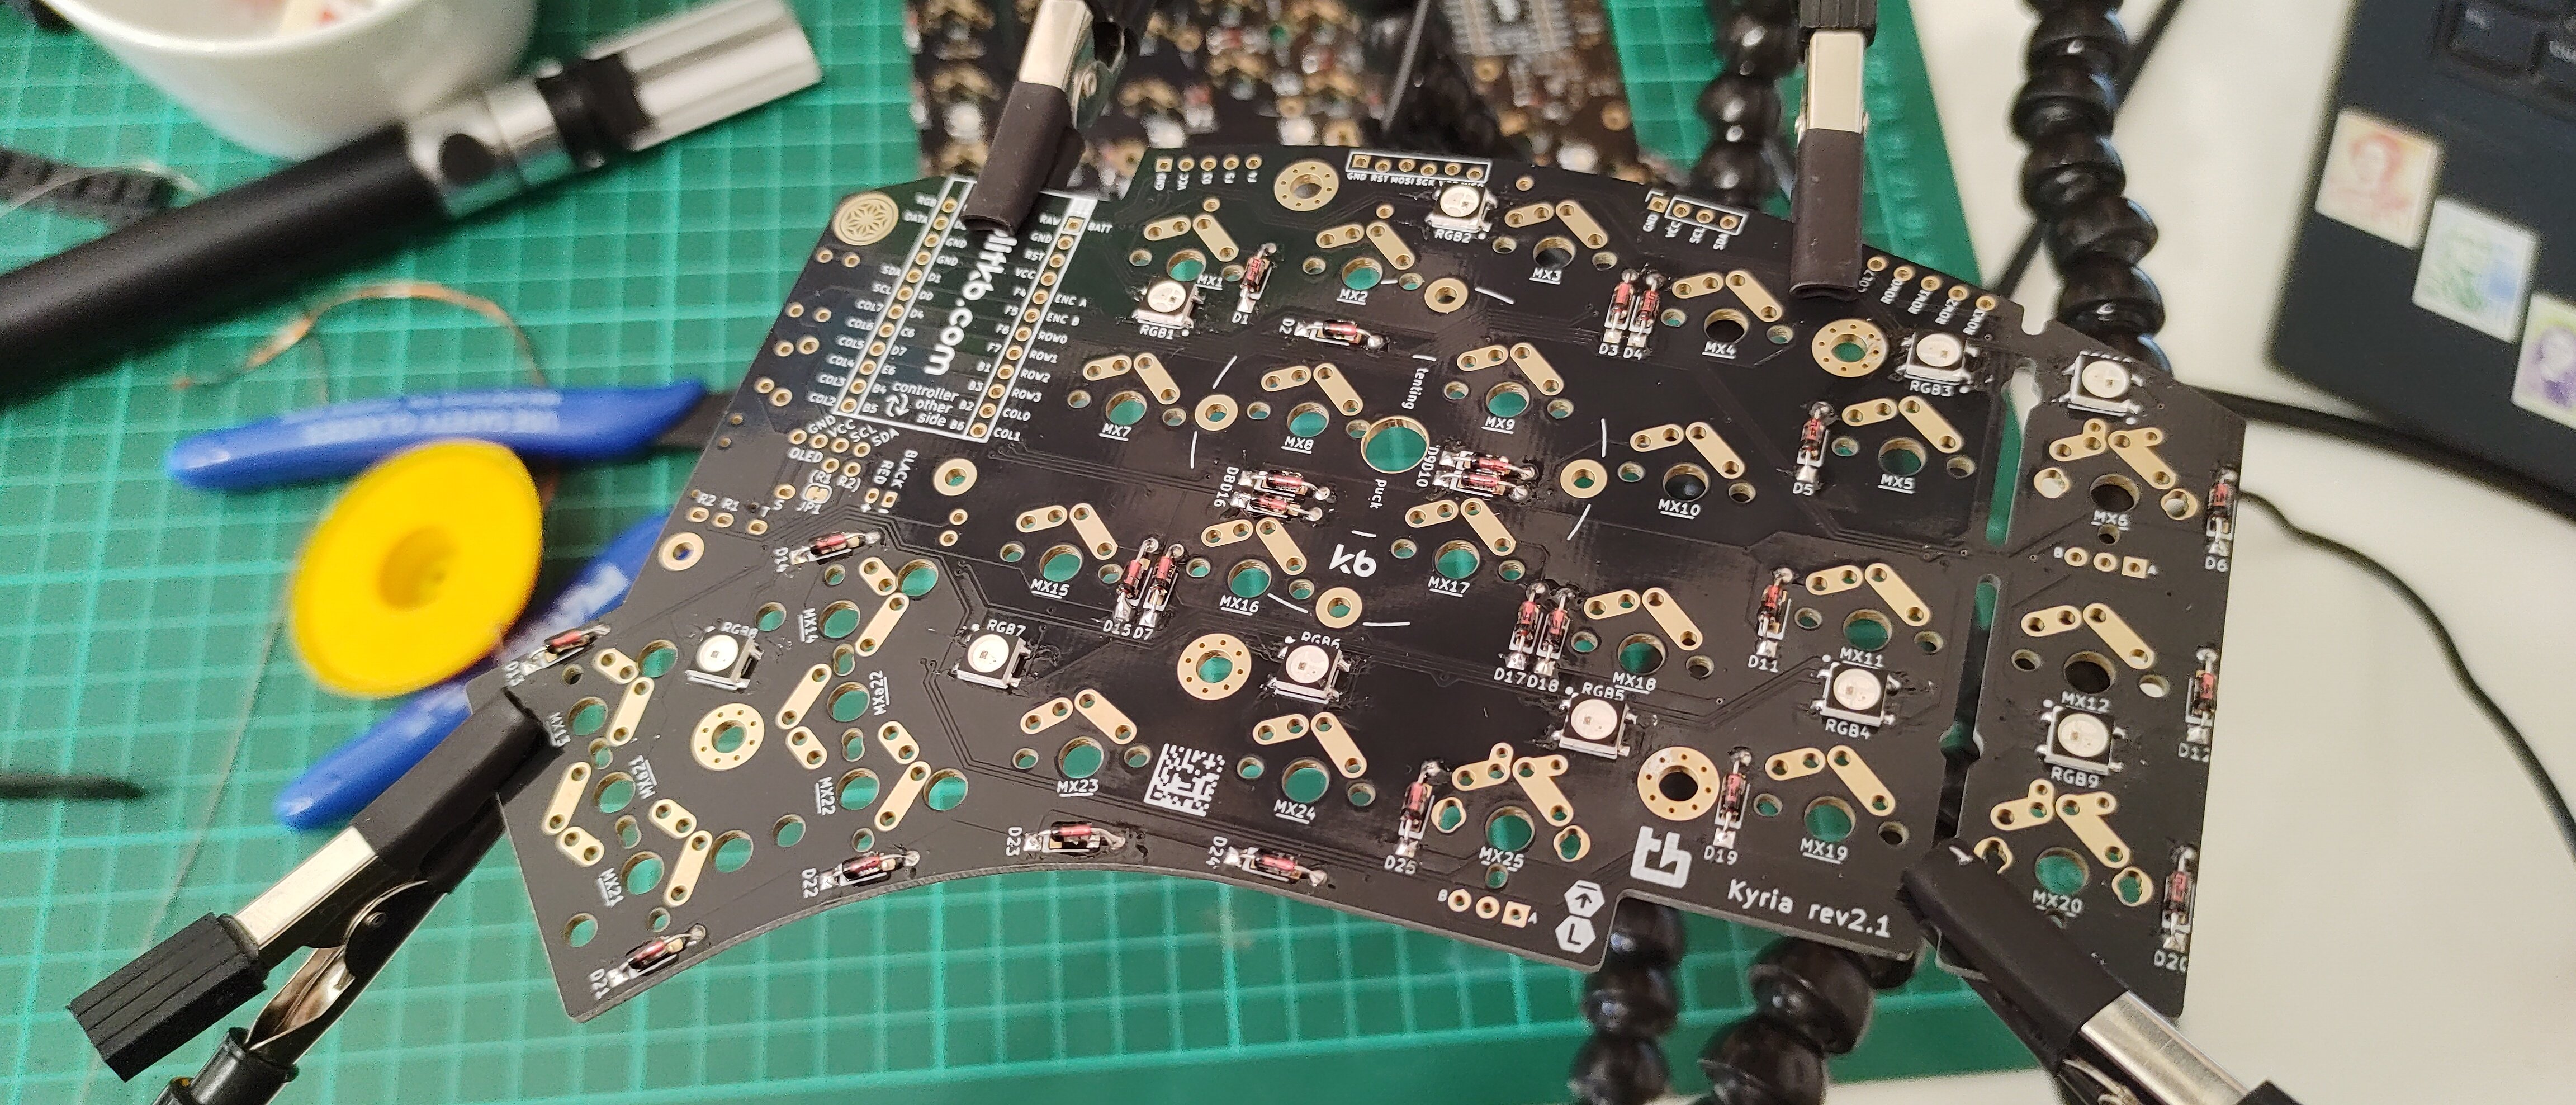
Soldering on the diodes:
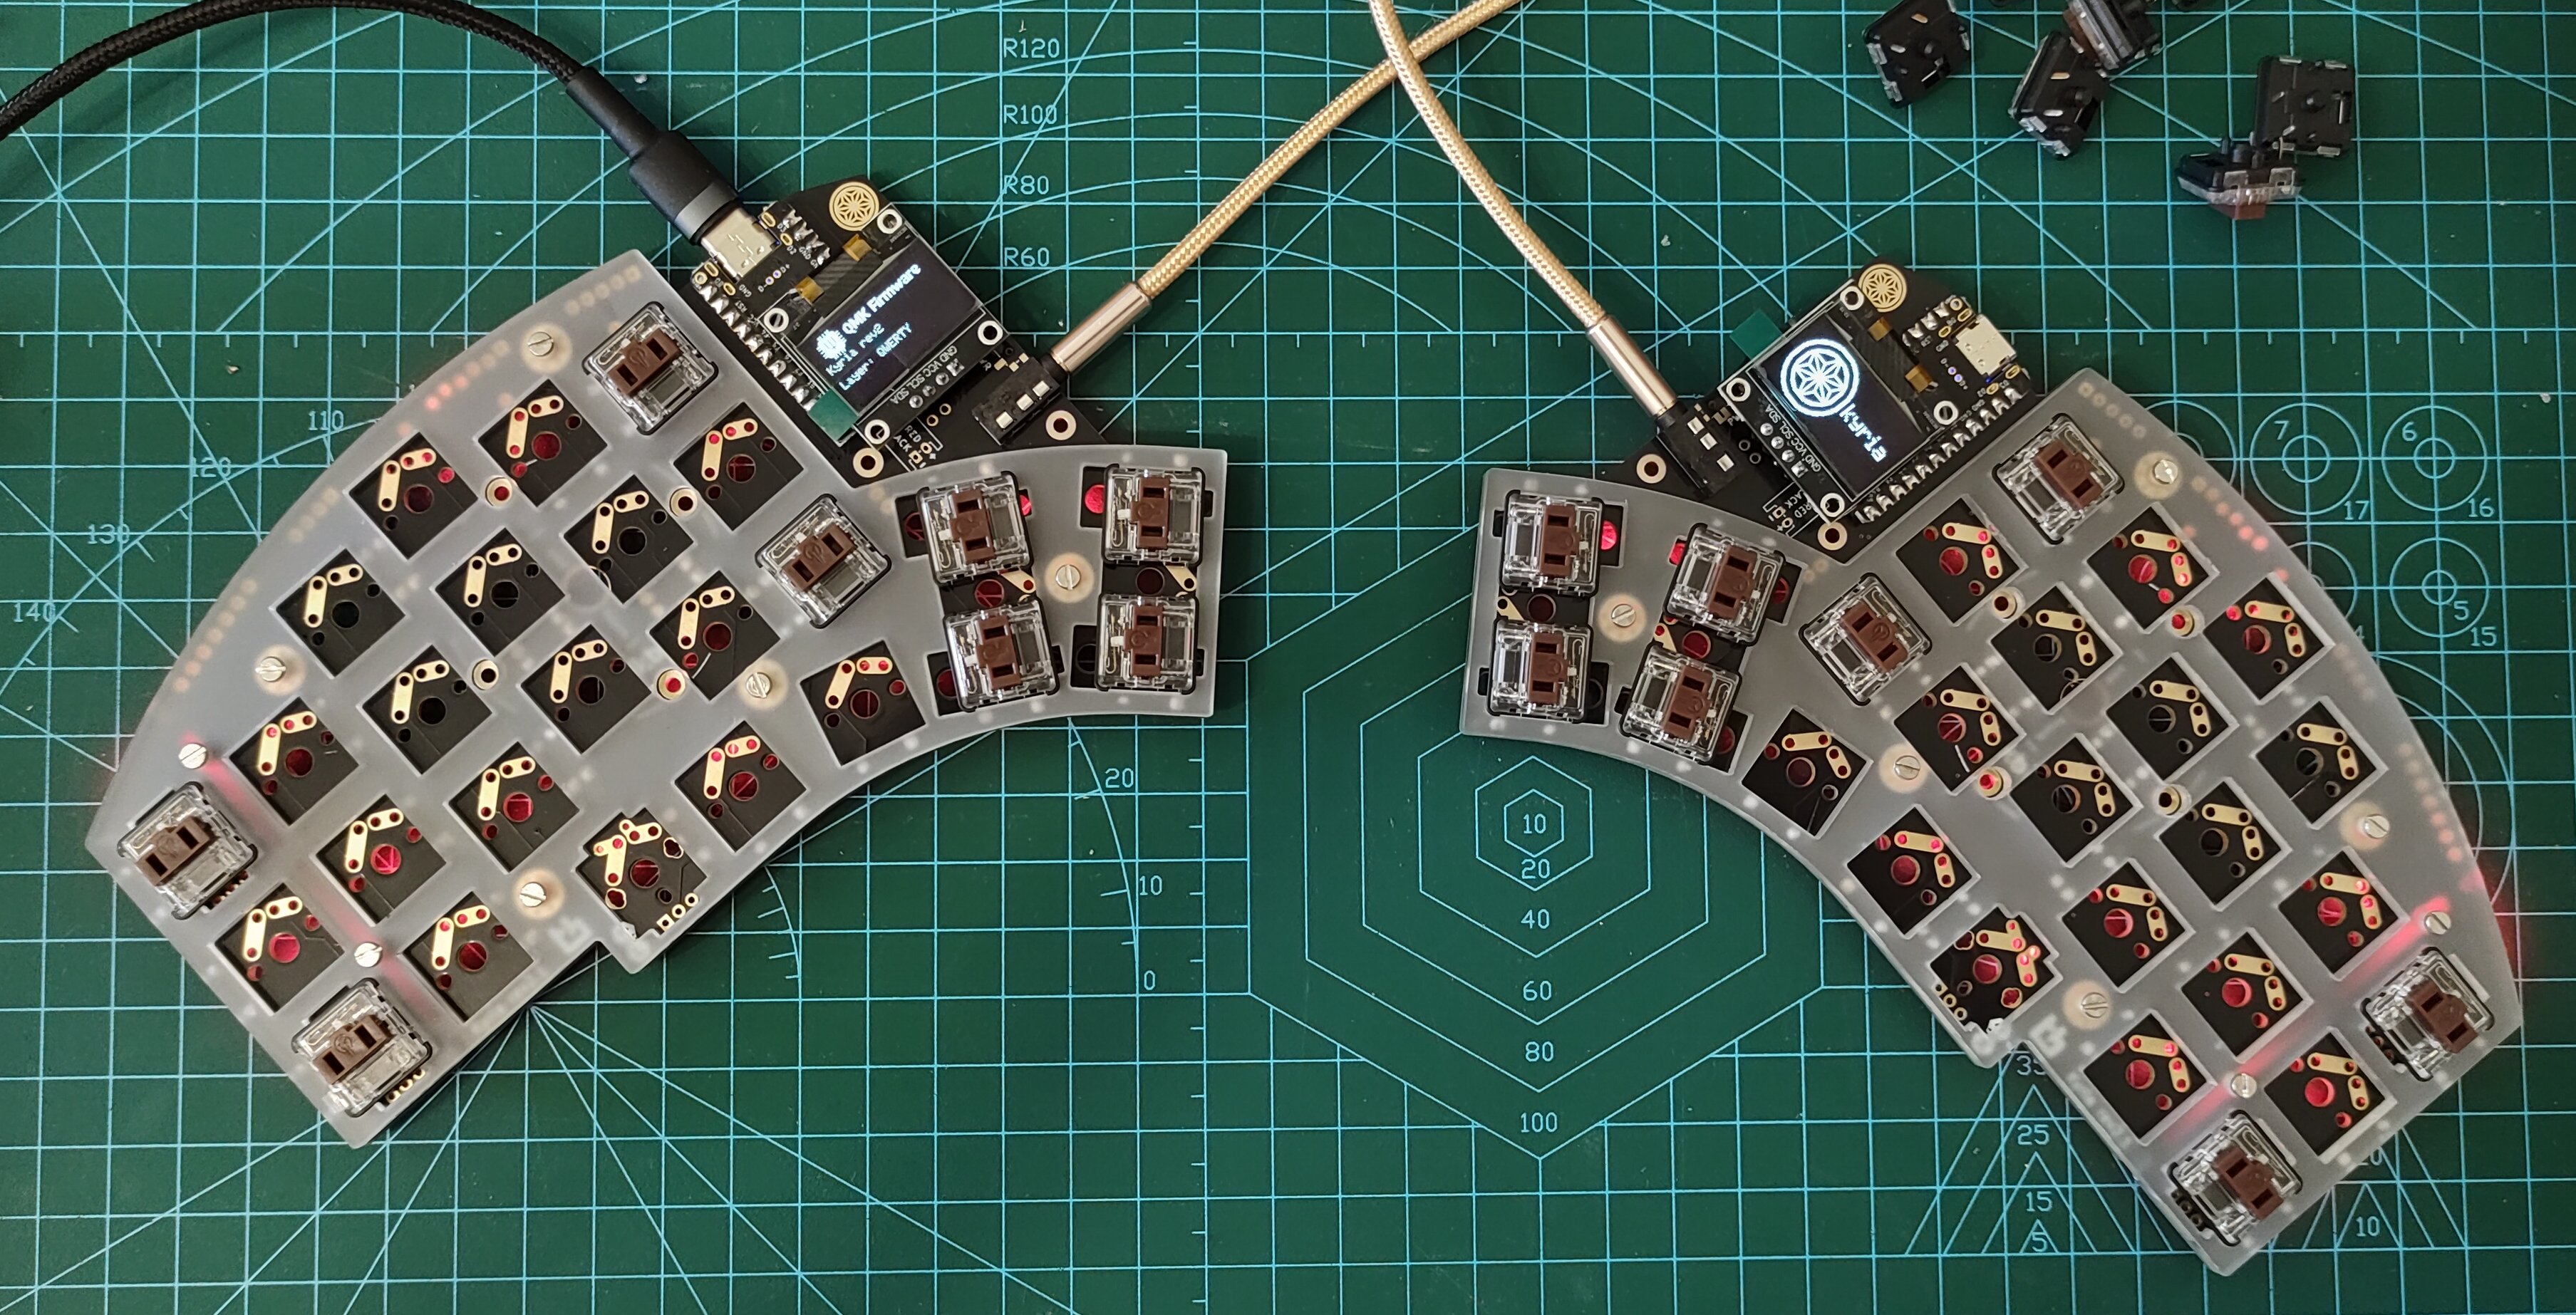
All the blinkenlights!
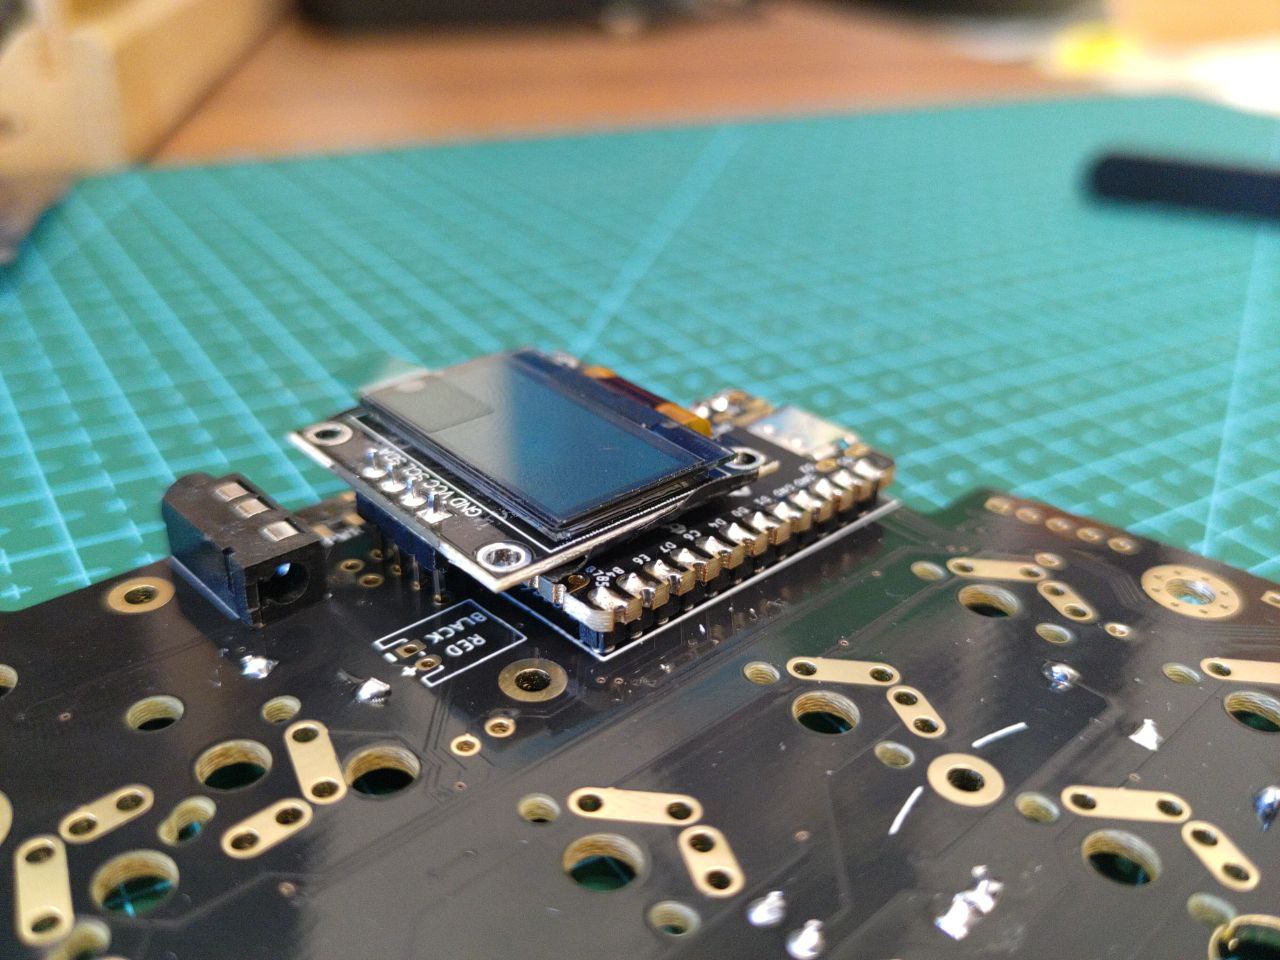
The soldered OLED on the processor looks quite adventurous in this setup, but hey, it works:
At first, we couldn’t figure out the best way how to solder on the switches, but in the end all went well…
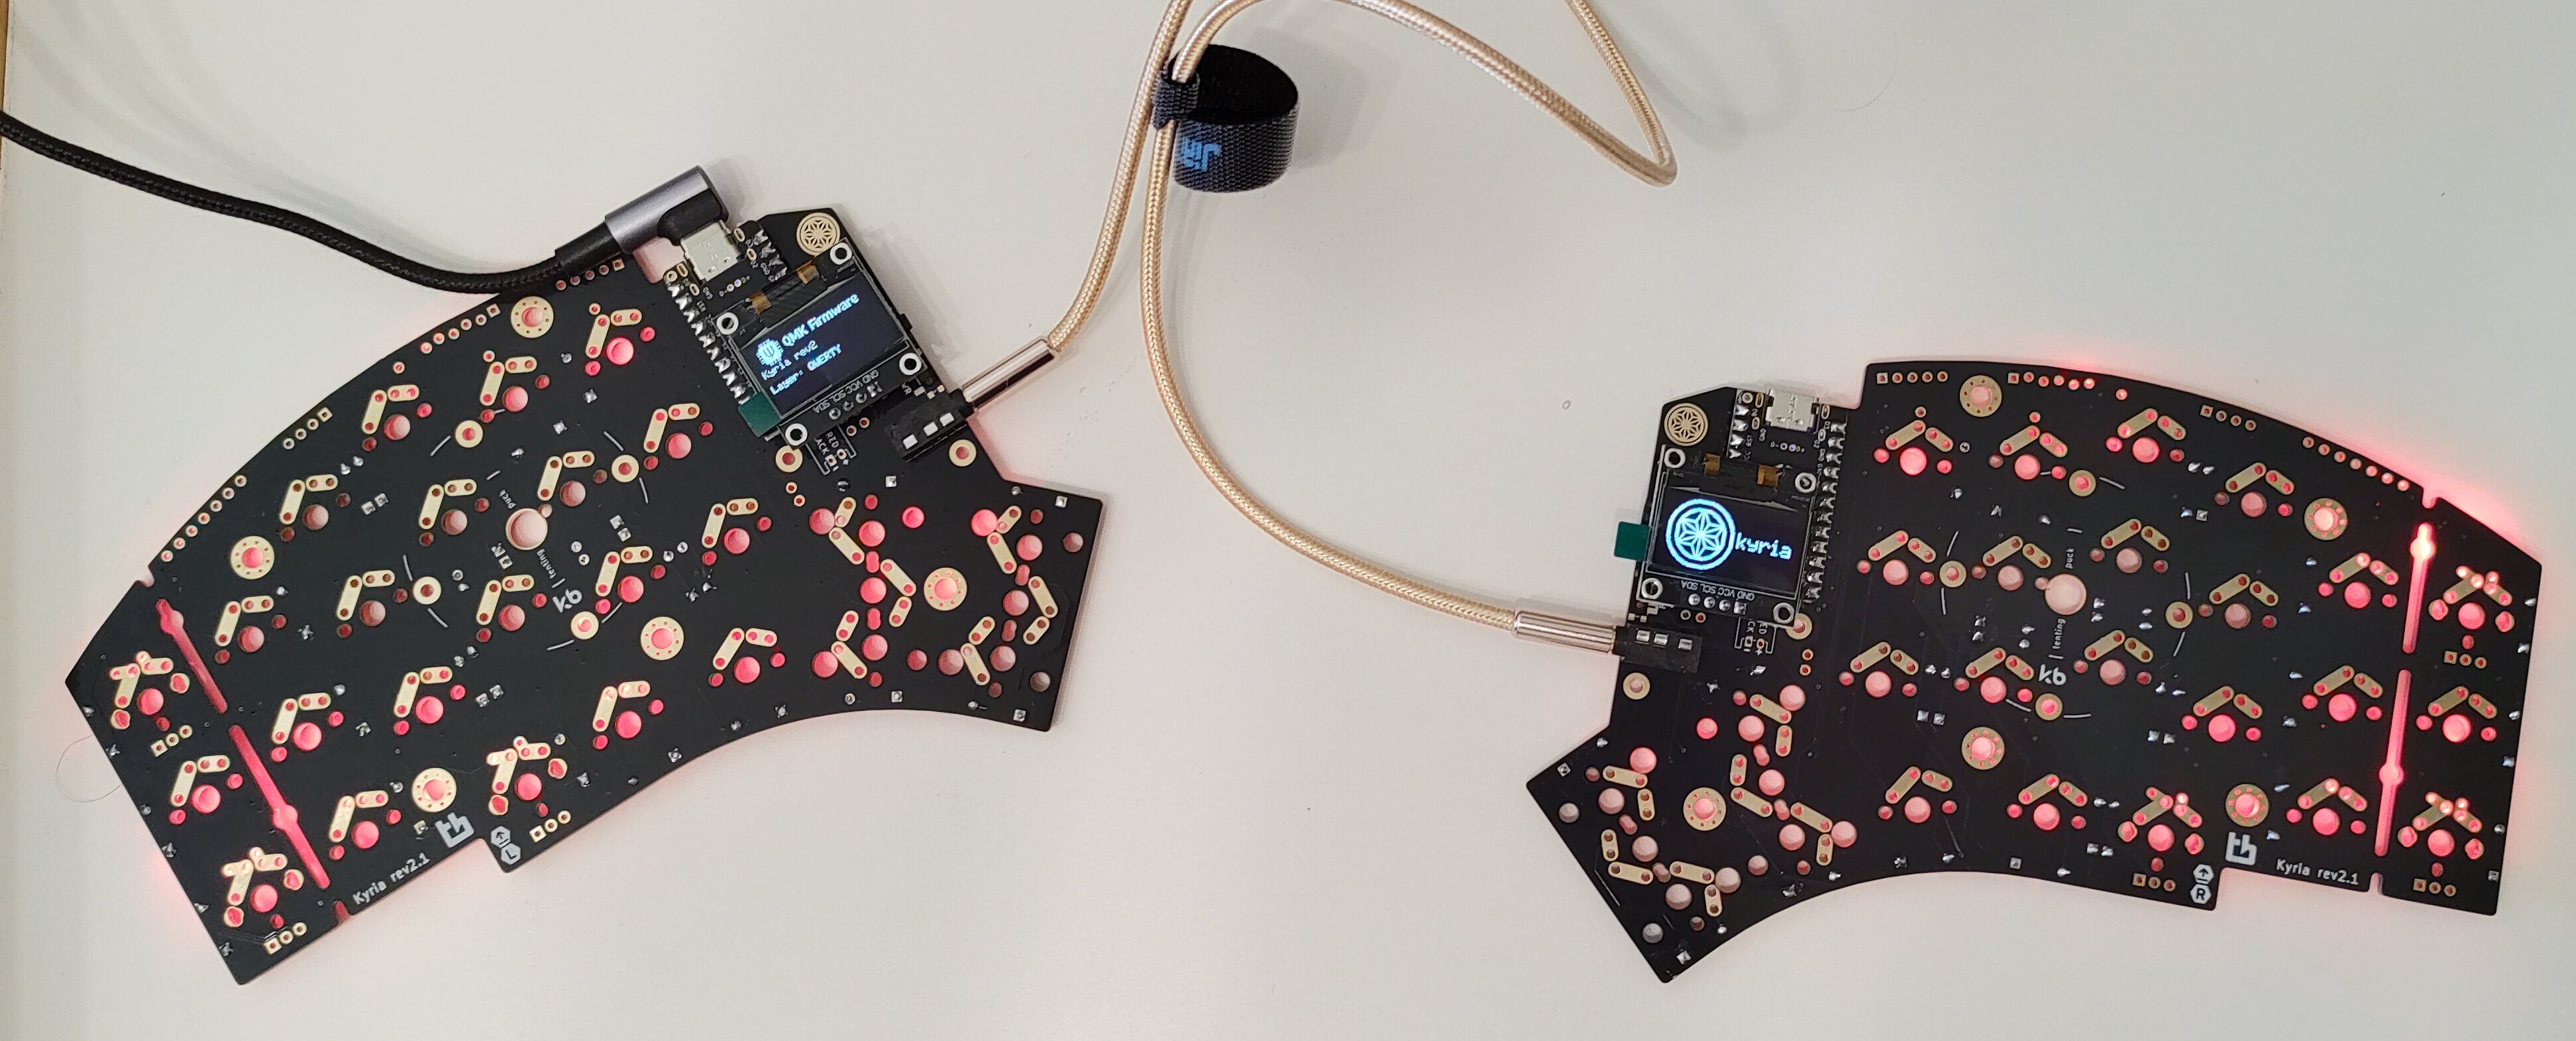
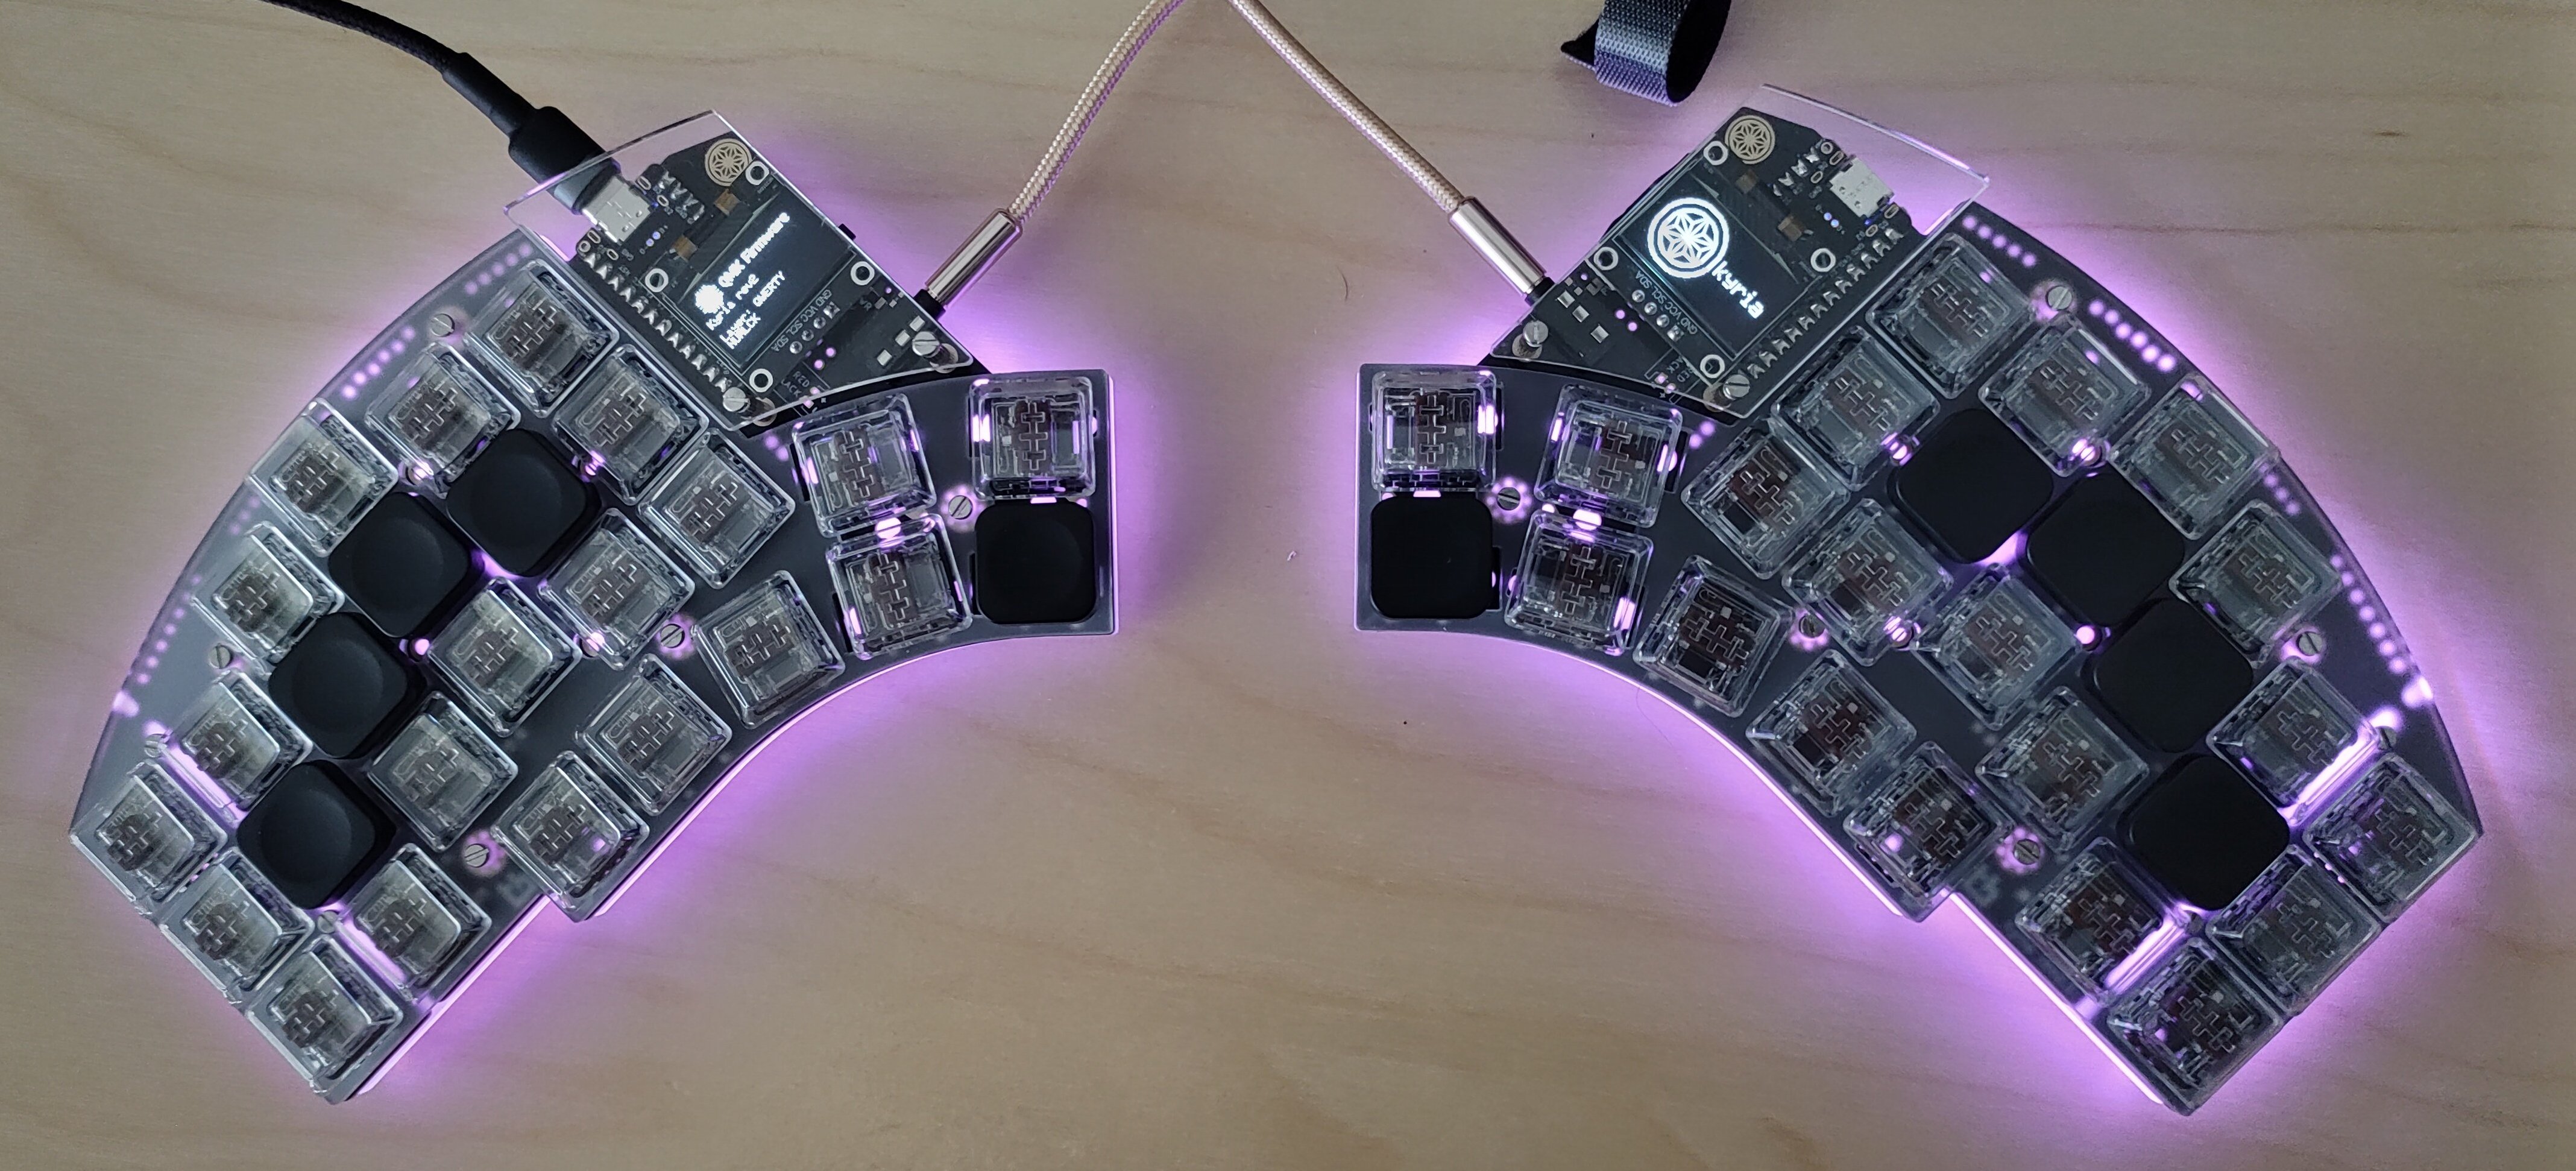
All done, lights up!
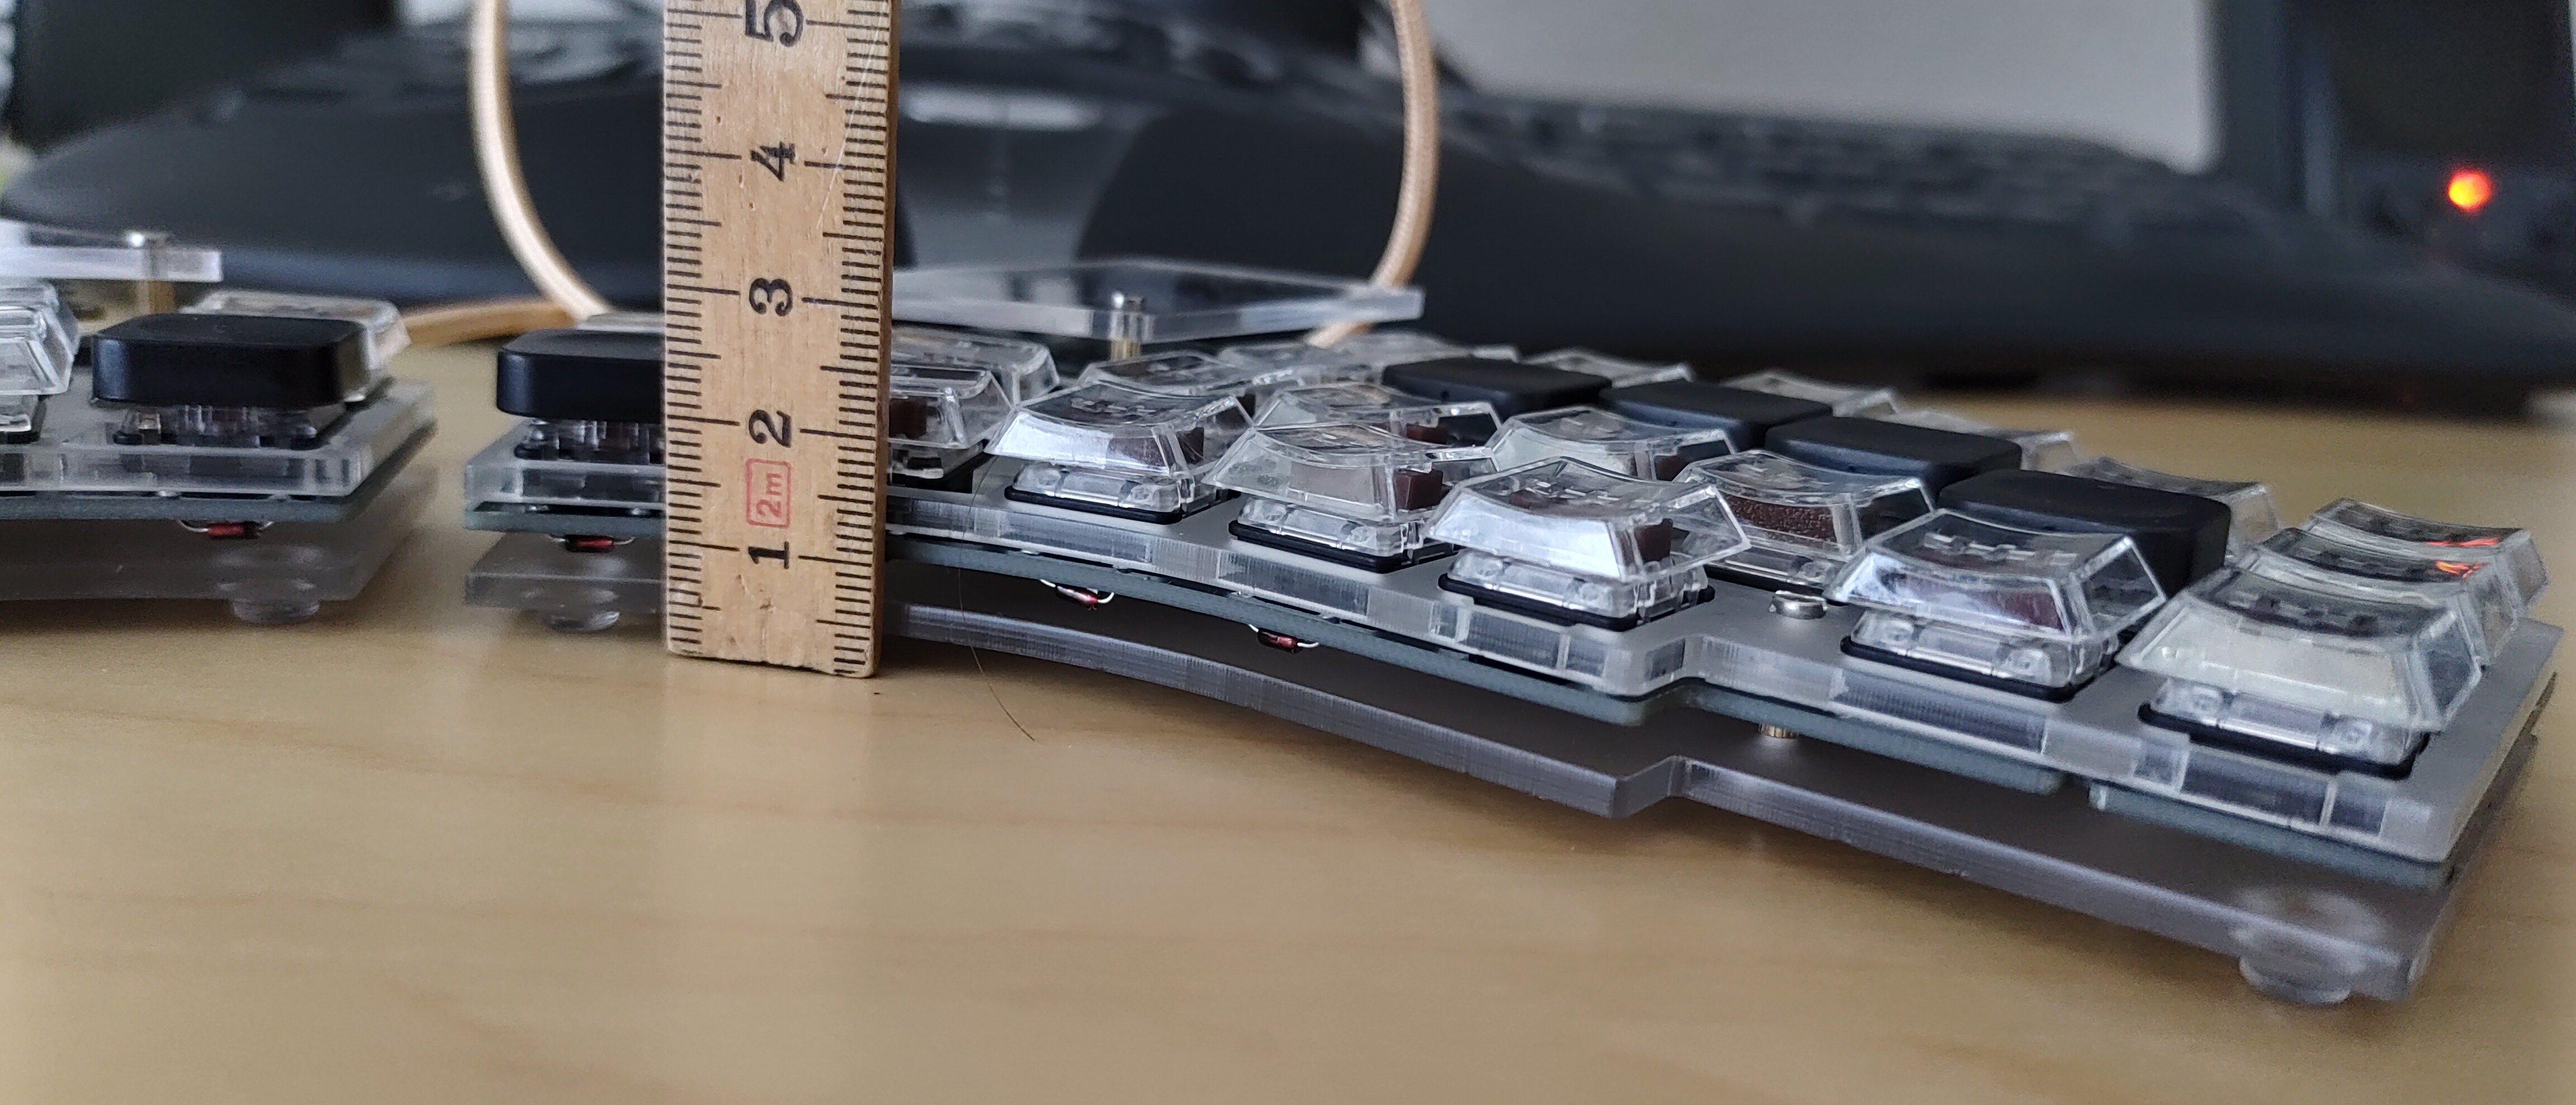
It says “low profile” on the package:
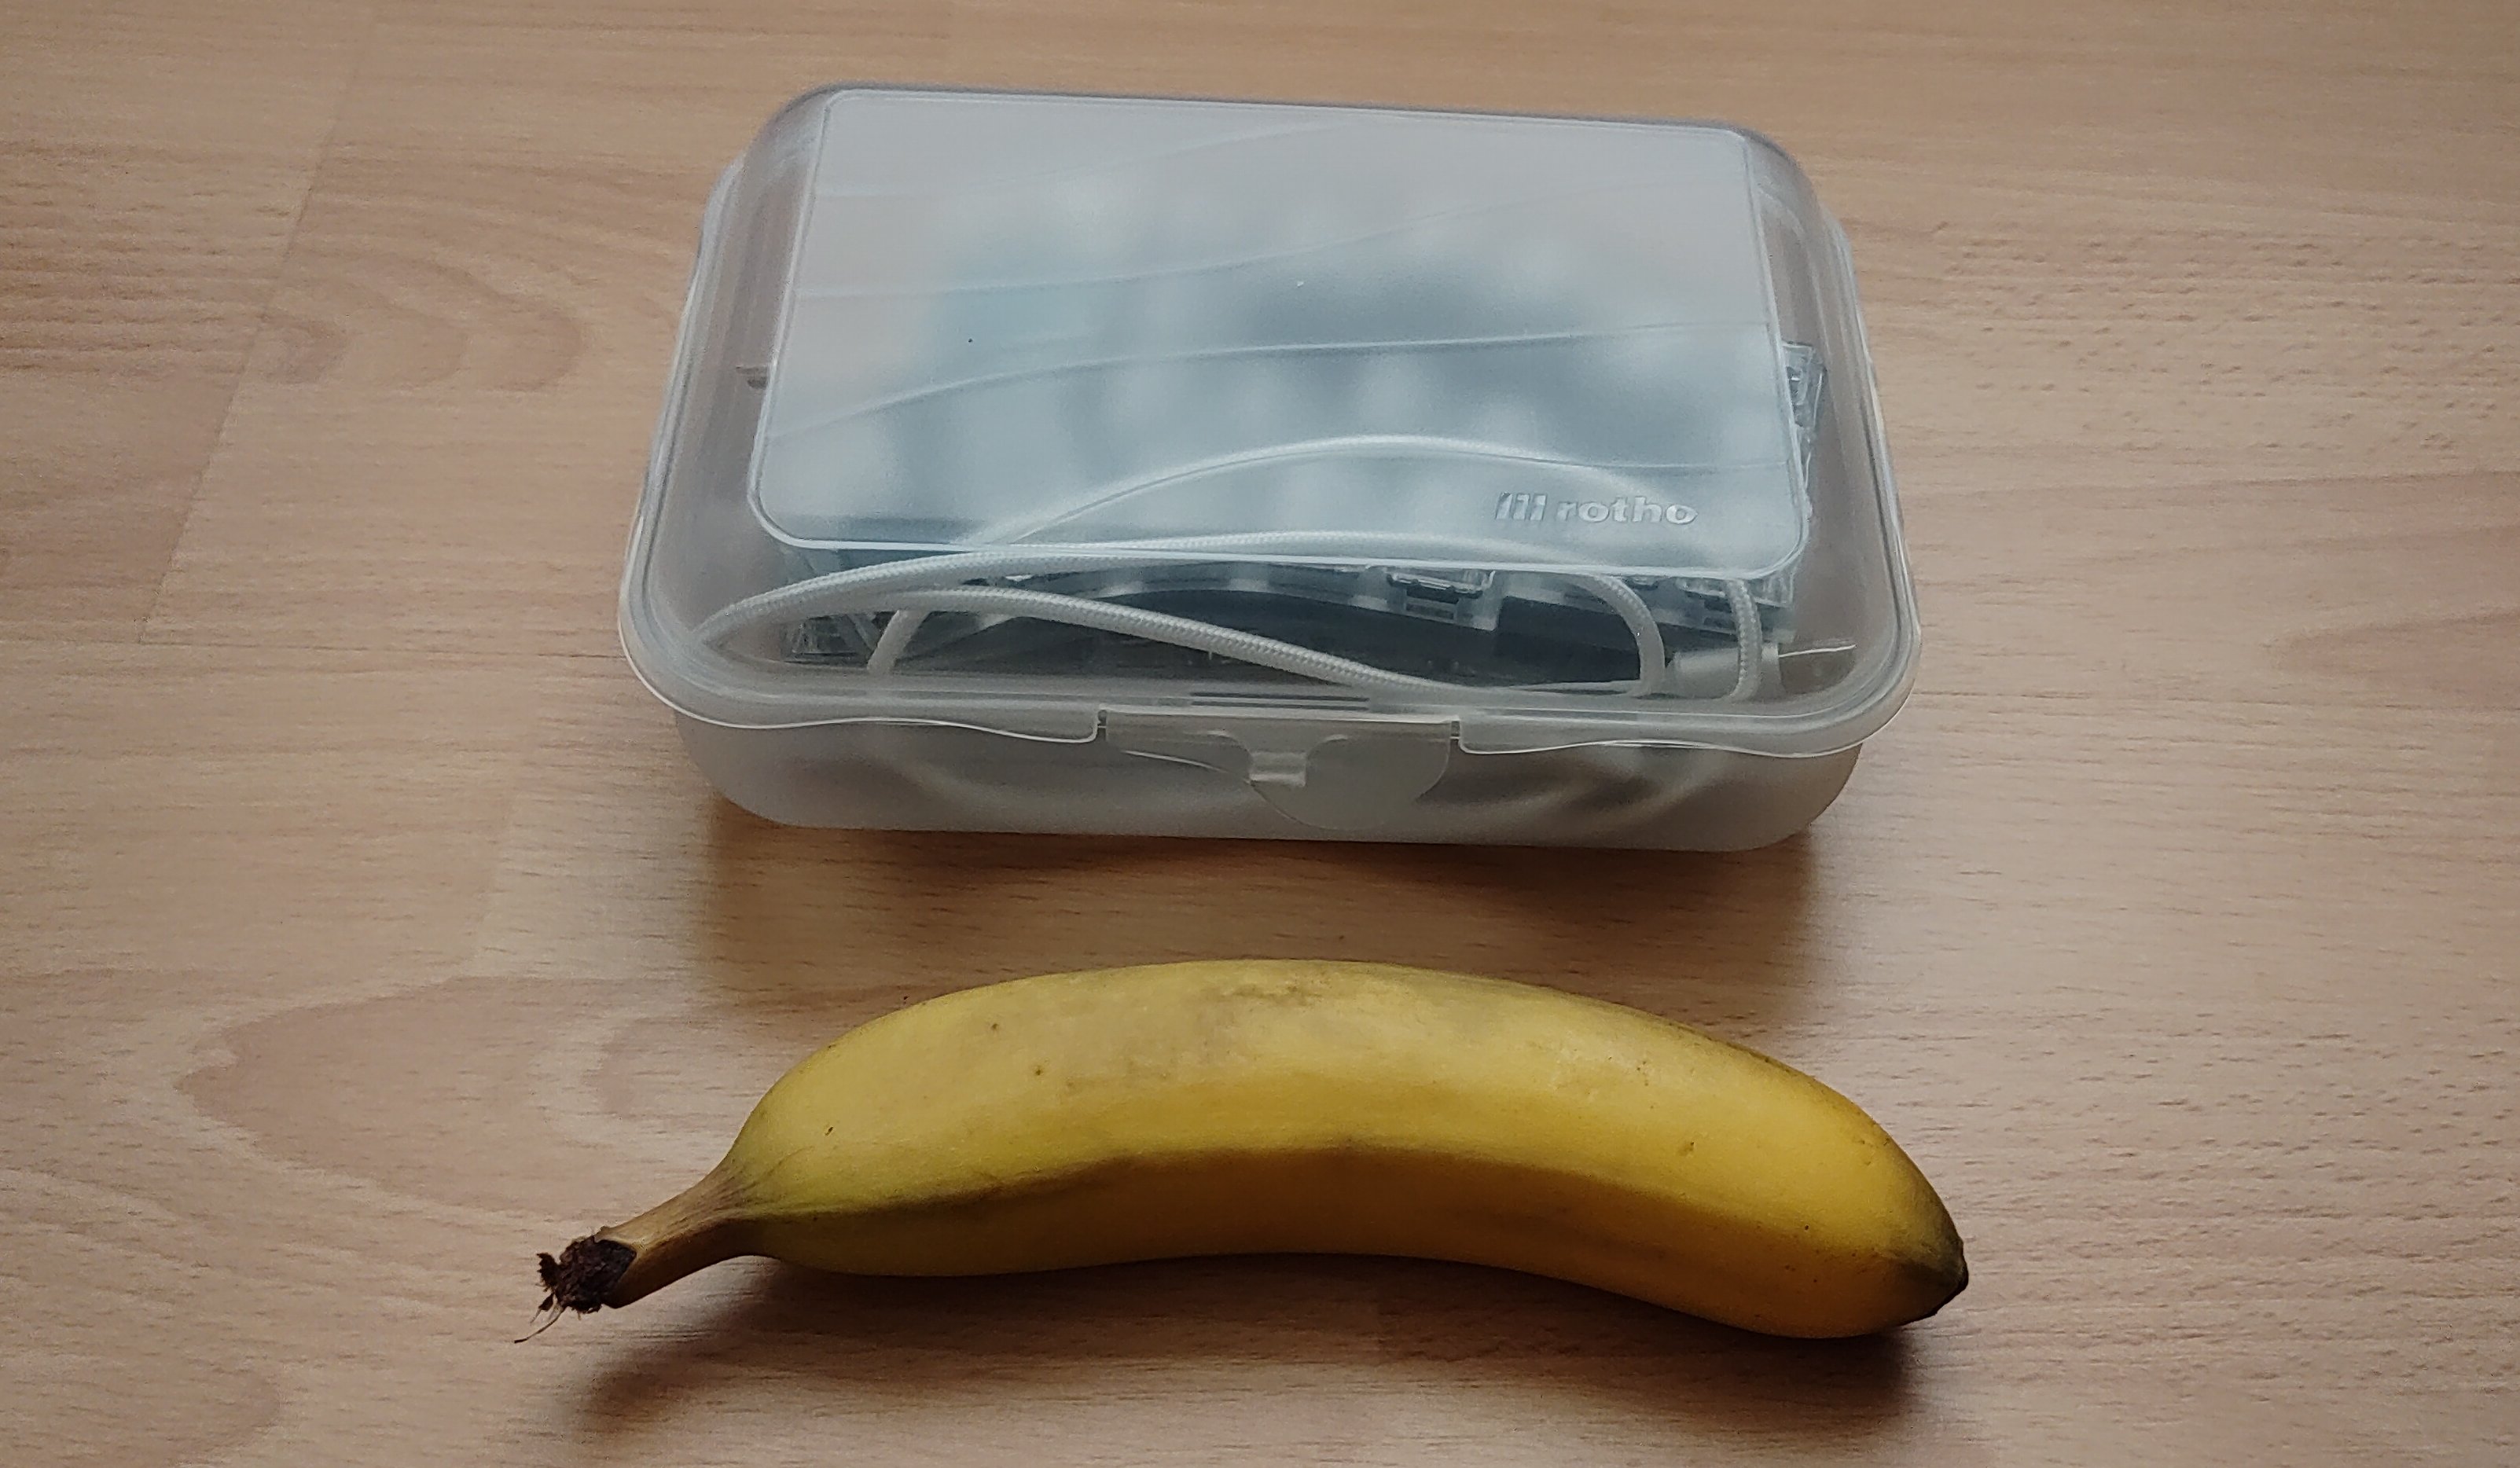
The final keyboard fits into a tupper box, perfect for travelling, banana for scale:
Preparing to Type
At first, flashing the keyboard seemed a cumbersome process using QMK Toolbox on Windows, but as soon as we discovered its online equivalent together with QMK’s terminal Linux app, I did the whole process online and via CLI. These are the steps for a complete beginner to flash this custom mechanical keyboard:
-
Define your layout using the online QMK Configurator. Download the resulting JSON file.
-
Get the QMK tool and firmware onto your computer up and running, following QMK’s excellent documentation.
-
Flash the keyboard using the JSON file:
$ qmk flash mylayout.json. Note that if you add macros to the file, they are not preserved after uploading it again to the online tool. -
Use the online keyboard layout editor to create pictures of your layout to serve as mnemonic.2
Flashing the firmware worked perfectly and soon I was digging into keymap.c to tweak the keyboard layout. The trickiest part was mapping the symbol layer. It requires some brain gymnastics, because in daily life, I type using the “uncommon” German-Switzerland (DE-CH) keyboard layout. To type a symbol in the familiar DE-CH position, you have to use the keycode that corresponds to the US layout symbol. Example for the question mark ?:
- On QWERTZ DE-CH it is typed using
Shift + ' - On QWERTY US it is typed using
Shift + -
Which means in keycode.c the actual keycode for typing ? in the DE-CH position is then LSFT(KC_MINS). The same has to be done in the online tool. Maybe there’s an easier way, but we haven’t figured out.
Minor Disappointments
Two things are not working properly yet, however:
- Bongo Cat, sadly, takes up much space, and I haven’t had time to prune the base code yet .
- There’s a very annoying bug in the QMK firmware that disrupts the RGB light synchronization between master (left) and slave (right). Moving patterns are not synced at all, and most of the time, the keyboard looks like this:
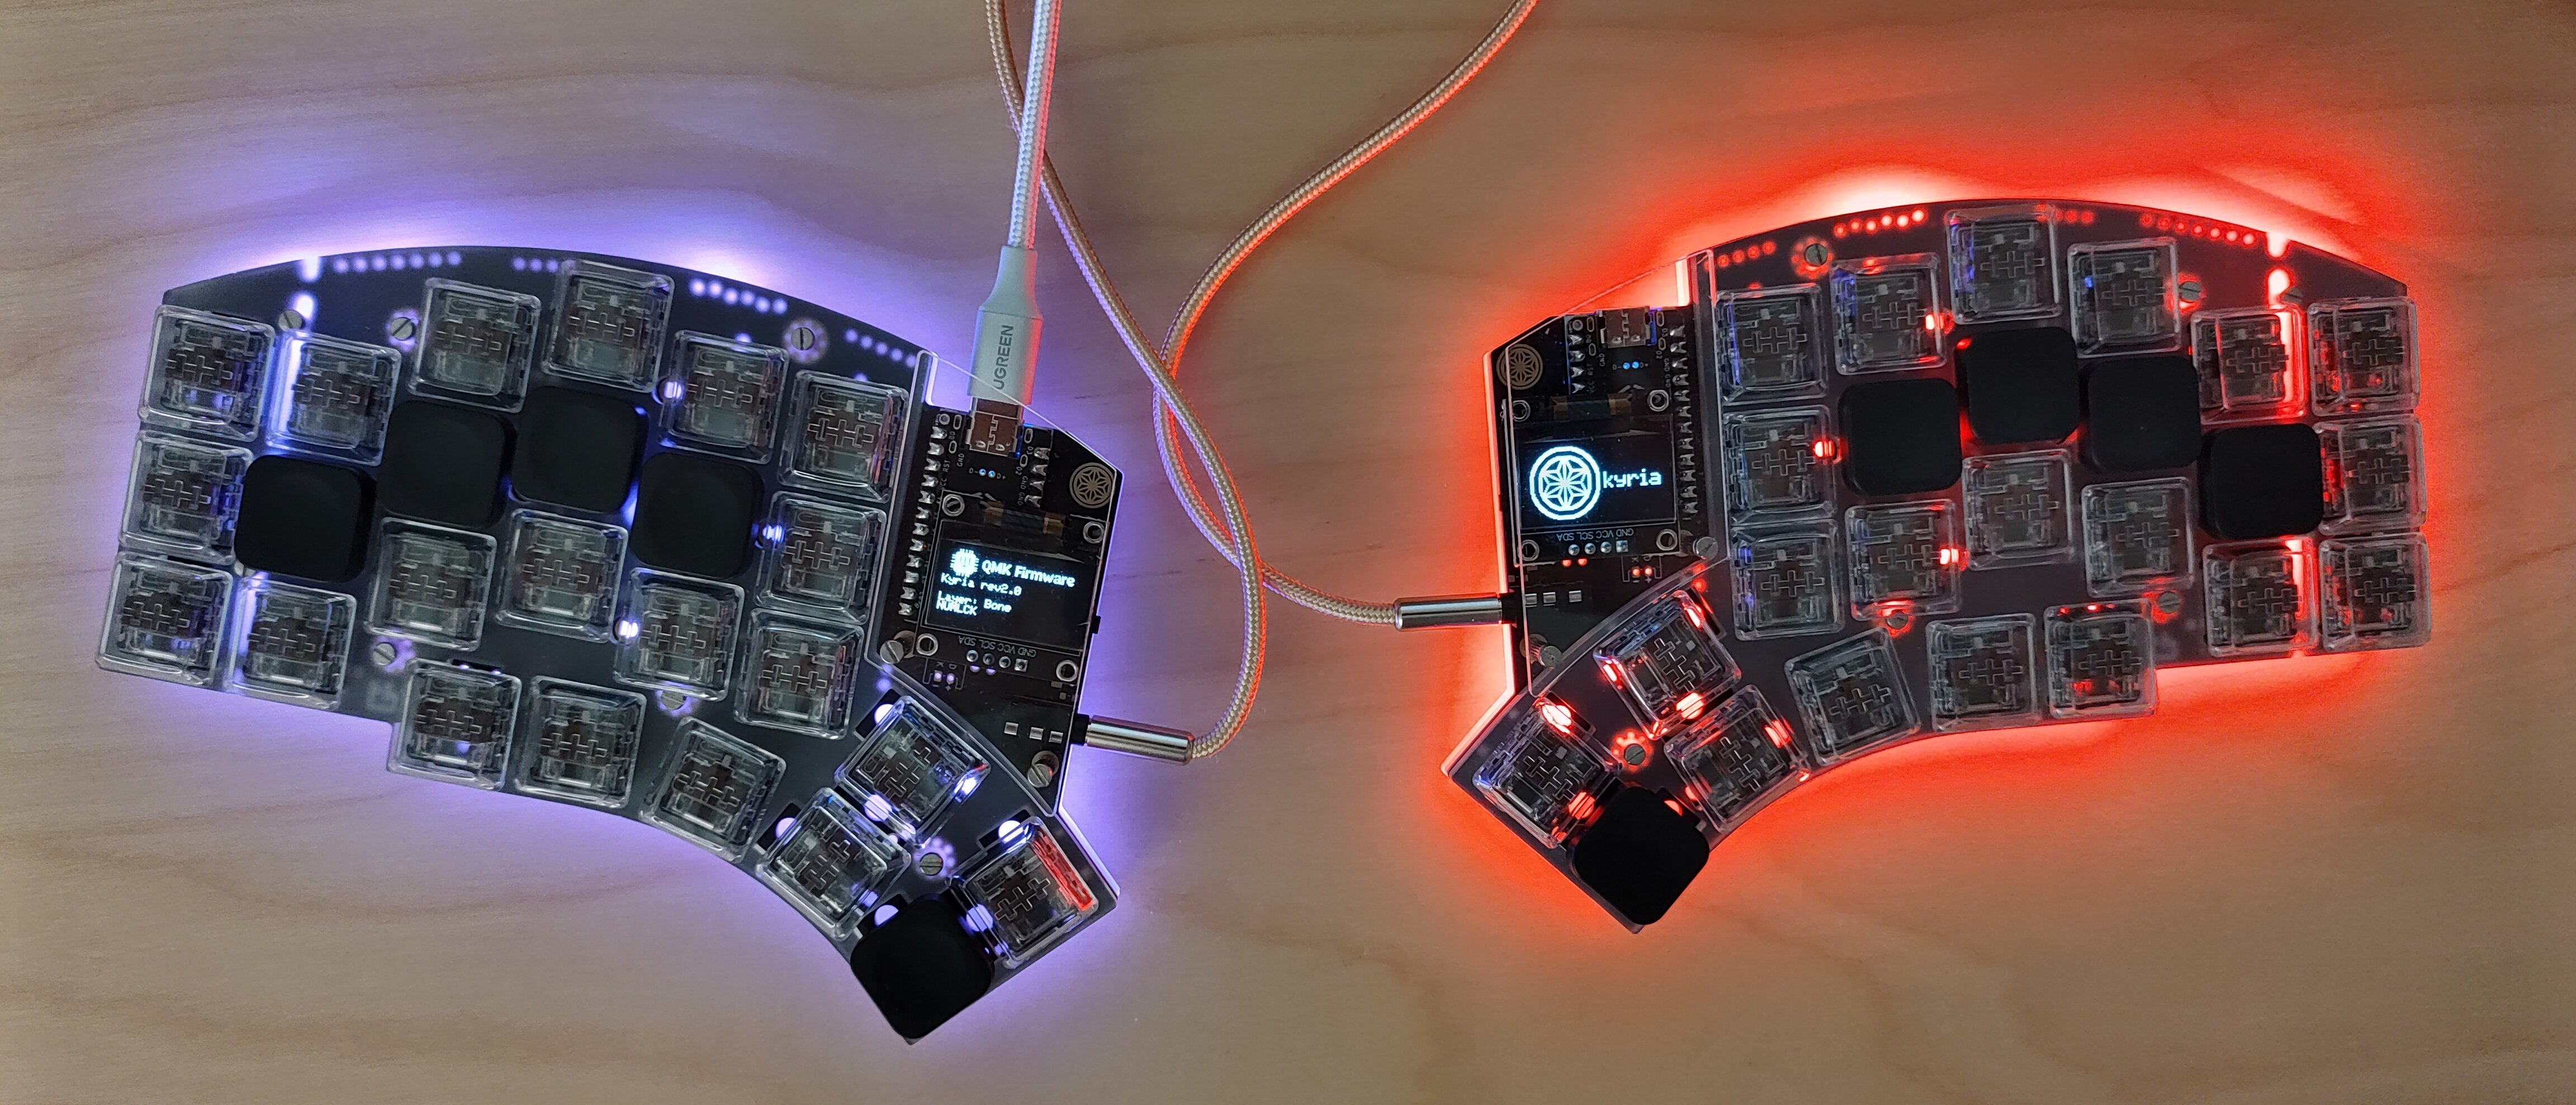
I can live with the bug, but it’s annoying still… also I want glowing rainbows all over my keyboard. It’s been an open issue for a while now and I hope it gets fixed at one point.
Yay for the Kyria!
Overall, I’m way beyond happy to have started this adventure! The steep initial learning curve for such projects has been flattened by my tour guide; the feeling of complete freedom and flexibility (Configure everything! A special key for Alt+Tab! A macro for typing ^ with one keystroke!) has replaced any feelings of frustration and being overwhelmed. Now I want more such custom keyboards and one day even replace my beloved Natural Ergonomic 4000 Keyboard3 if it ever dies. First, the hard part: Learning a new keyboard layout! What’s the use of getting a fancy new mechanical keyboard without switching to a new, more ergonomic layout? Details will be described in a follow-up post. Last but not least, many thanks to my SO for being my tour guide through this new wild world of custom mechanical keyboards. Also, yes, you do have the better soldering iron, thanks for letting me use it.
Footnotes
-
If your product has good documentation, I’m half-way into buying it. ↩︎
-
Did I mention splitkb’s documentation is awesome? ↩︎
-
Microsoft, why!?! The follow-up model is just… nope. ↩︎
Last modified on 2022-06-26
Comments Disabled.